Roblox Scene Generation beta gives Studio creators a faster way to turn an idea or reference image into an editable environment. Announced on October 30, 2026, the beta generates scenes made from models, textures, and terrain. The real opportunity is not to publish a finished level in minutes; it is to create a first layout sooner, test whether it supports the game idea, and refine the parts that matter.
Roblox says a typical generation takes about two to three minutes. Creators can launch it through Assistant with /generate_scene or by right-clicking in the Studio viewport and choosing Generate > Scene. The viewport workflow supports multiple reference images, while Assistant was limited to one image at launch. Read Roblox’s official beta announcement.
What Scene Generation Actually Creates
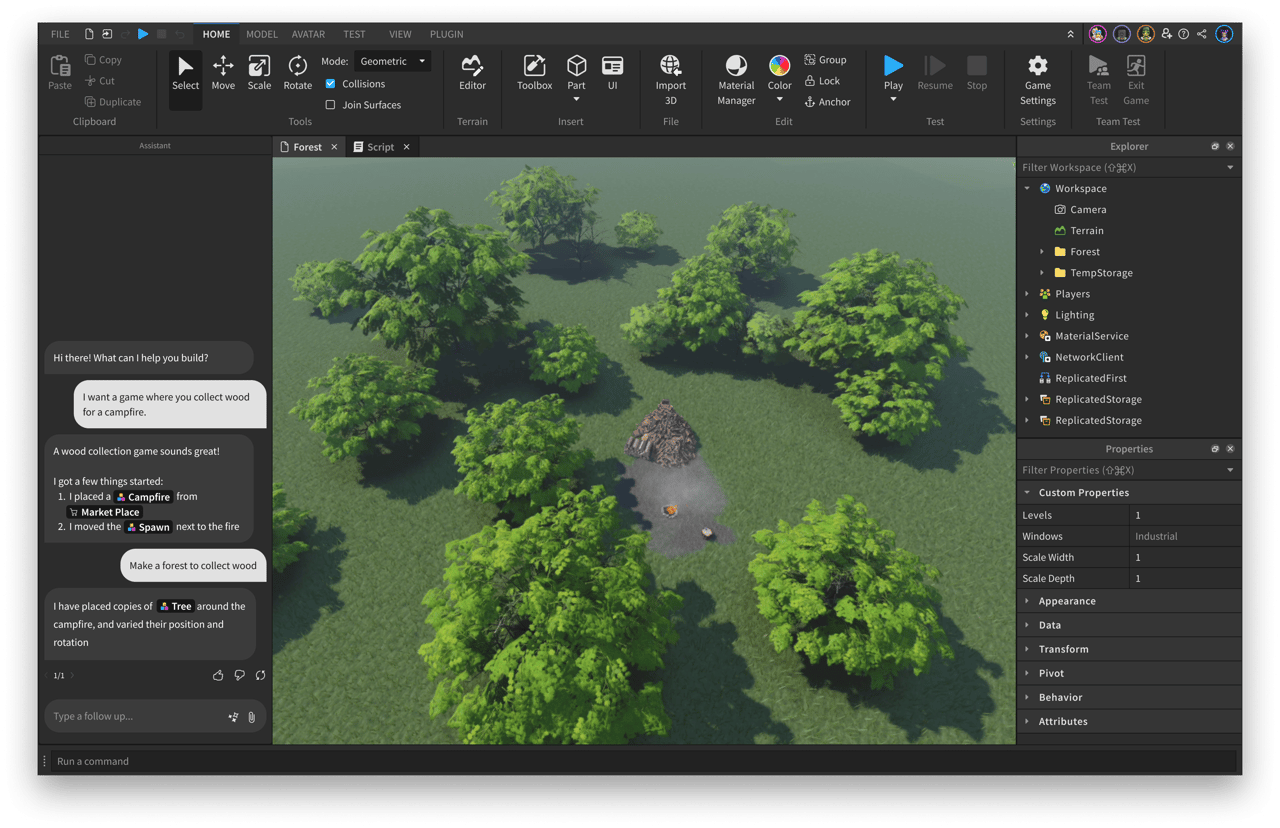
Scene Generation is a creator-facing Roblox Studio beta for environment prototyping. It takes a text description, a reference image, or both, then creates an editable scene that can contain models, textures, and terrain. Roblox says creators can guide the generated scene’s size and position and choose whether to use procedural models or meshes.
The output is intended to be a collection of scene elements that a developer can inspect and change—not a flattened picture that only looks like a game level. A creator can use it to get a first version of a forest arena, city block, shop interior, racing environment, or dungeon, then adjust the layout to fit the experience’s actual mechanics.
How to Open the Scene Generation Beta
Method 1: Use Assistant
- Open the Roblox place you want to edit in Studio.
- Open the Assistant panel.
- Enter
/generate_scene, followed by a detailed description of the environment. - Add a reference image if it clarifies the layout, style, or important objects. At launch, Roblox documented one reference image for this Assistant workflow.
- Review the generated environment and edit the individual elements to fit your game.
Method 2: Use the viewport menu
- Open the place in Roblox Studio and right-click inside the 3D viewport.
- Choose Generate, then Scene.
- Write the prompt and add reference images.
- Set the scene’s size and position, then select the available generation approach.
- Generate the scene, inspect the result, and make the changes needed for gameplay.
The viewport route is especially useful when you have separate references for layout and art direction. Roblox says this workflow supports multiple images. One image can show where paths and buildings should go, while another communicates the material palette or lighting. Tell the prompt what each reference image should control.
How to Write a Better Scene Generation Prompt
A vague prompt can produce a scene that looks attractive but does not help your game. A useful prompt explains the environment’s purpose, the player’s route, important landmarks, visual style, and what should be left out. Roblox specifically recommends describing both what to create and what not to create.
- Purpose: Say what kind of game space this is and what players should do there.
- Layout: Describe the entrance, main route, landmarks, side areas, and exit.
- Scale: Give a practical size or relative dimensions when you know them.
- Art direction: Specify materials, lighting, palette, time of day, and visual references.
- Gameplay needs: Request open paths, clear sightlines, safe spawn areas, cover, or space for objectives.
- Exclusions: State what must not be generated, such as extra terrain, blocked paths, clutter, or decorative objects that interfere with movement.
Example prompt: compact forest arena
Build a compact forest arena for a multiplayer capture-point game. Create one clear central objective area, three distinct approach paths, readable cover on each route, and open space around the spawn points. Use a stylized low-poly art direction with mossy stone, pine trees, and soft afternoon lighting. Keep the central sightline open. Do not place trees, rocks, or props on the main paths, and do not generate extra terrain outside the arena boundary.
Example prompt: add buildings without changing terrain
Generate a small group of market buildings on the existing terrain. Include a central shop, two smaller storefronts, visible entrances, and a clear pedestrian path between them. Match the existing material style. Do not generate or modify terrain, do not add roads, and do not block the current spawn area.
These examples are starting points, not guaranteed commands. Inspect the output and refine the prompt when the scene misses a gameplay requirement.
Generate a Whole Environment or Build It in Sections?
Roblox’s launch guidance describes both approaches. You can generate an entire environment in one pass, or build a larger world incrementally by generating smaller sections—such as rooms, buildings, or outdoor areas—and assembling them. Smaller sections can make it easier to control what belongs in each area and correct a weak result without regenerating the whole map.
For a large project, establish a short art-direction description first: palette, materials, lighting, proportions, and layout rules. Reuse that description or the same reference image when generating additional sections. Roblox notes that this can improve the chance of visual consistency, but it does not guarantee a perfect match. Expect to adjust materials, scale, and transitions manually.
What to Test Before Calling a Generated Scene Playable
A scene can look complete and still fail as a game space. Before building the rest of the experience around it, run a practical level check:
- Player movement: Walk, jump, and use the intended movement abilities through every important route.
- Collision: Check whether players get stuck on generated props, slopes, stairs, doorways, or decorative geometry.
- Scale: Compare doors, platforms, cover, and pathways with the avatar’s actual size.
- Navigation: Confirm players can understand where to go without confusing dead ends or blocked sightlines.
- Spawn safety: Make sure spawn locations are not inside objects or exposed to immediate unavoidable attacks.
- Performance: Test on the devices your audience uses, especially lower-powered phones and tablets.
- Visual consistency: Look for mismatched materials, lighting, object scale, and repeated assets.
- Gameplay balance: Check that the environment does not unintentionally favor one team, route, or strategy.
Use Studio playtesting and device emulation as part of the review. A two-minute generation is only the start; collision cleanup, performance checks, and player testing still take time.

What Is Coming Next—and What Is Not Available Yet?
Roblox’s October 30 announcement described a future Generate tab in Studio’s ribbon. It also said the company plans to bring multiple-image support to Assistant and add more controls for specifying scenes. These were described as upcoming improvements, so creators should not assume they are already available in the initial beta.
The wider creator update recap also listed Scene Generation among the betas helping creators prototype and test ideas. That confirms the feature is part of Roblox’s broader Studio testing push, but it does not mean every creator has identical access or that every planned control has shipped. Check the current Studio beta interface and official Creator Hub updates for availability.
How Scene Generation Fits Into Roblox’s AI Creation Tools
Scene Generation focuses on environments. It should not be confused with Prompt-to-Avatar, which Roblox announced separately for creating Roblox-ready character models from text prompts, or with other AI tools for generating individual models, textures, and scripts. The tools can complement one another, but each addresses a different part of development.
For a broader overview of related creator features, see our Roblox Scene Generation and Prompt-to-Avatar guide. Generating an environment or character does not automatically create the game logic, interface, objectives, multiplayer systems, or finished player experience.
Frequently Asked Questions
Is Roblox Scene Generation available now?
Roblox announced Scene Generation as a Studio beta on October 30, 2026. Access is described through Assistant or the viewport’s Generate > Scene menu. Availability can depend on the current beta rollout and Studio version.
How do I use Scene Generation in Roblox Studio?
Open Assistant and enter /generate_scene, or right-click in the viewport and choose Generate > Scene. Describe the environment, add reference images where supported, and review the editable output.
Can Scene Generation use more than one image?
At launch, Roblox documented multiple-image support in the viewport’s Generate > Scene workflow. The Assistant command was limited to one reference image, with multiple-image support planned for a future update.
What does Scene Generation produce?
It produces an editable environment that can include models, textures, and terrain. Creators can inspect and adjust the generated elements rather than treating the output as a finished flat image.
How long does Scene Generation take?
Roblox says a typical generation takes around two to three minutes. Actual time can vary depending on the request and project.
Can it build a complete Roblox game from one prompt?
No. Scene Generation helps create an environment. Developers still need to build or connect scripts, objectives, player controls, UI, audio, progression, multiplayer behavior, and quality testing.
Can I edit generated procedural models?
Yes. Roblox says procedural models can expose editable attributes. Creators can adjust generated elements and iterate on the scene after the initial generation.
Should I generate the whole map at once?
Not necessarily. Roblox recommends that creators can also generate smaller sections and assemble them. For a large world, incremental generation can make it easier to control layout and maintain a consistent art direction.
Official Sources and Further Reading
- Roblox Developer Forum: Introducing Scene Generation — Prototype Scenes Faster
- Roblox Developer Forum: Weekly Recap, October 26–30, 2026
- Roblox Creator Hub: AI on Roblox
- Roblox Newsroom: RDC 2026 — The World Needs More Play
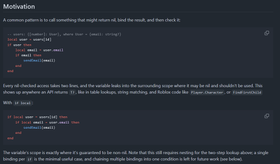
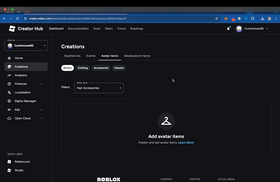
Editorial update: November 5, 2026. This guide distinguishes beta features announced by Roblox from improvements the company described as planned. Screenshots and examples are captioned where they illustrate related workflows rather than the exact Scene Generation beta interface. Feature availability and controls may change as the beta develops.
Author: Shivam Das