Roblox Studio’s MaterialVariant Alpha Mode beta gives creators more control over how a material’s color texture uses transparency. Instead of treating every transparent pixel in a ColorMap the same way, creators can choose whether to ignore the alpha channel, reveal the part’s base color, apply selective tinting, or remove visible sections of the surface.
Quick answer: Enable MaterialVariant Alpha Mode in File > Beta Features. Add a MaterialVariant under MaterialService, assign it to a Part, set a ColorMap that contains an alpha channel, and choose the AlphaMode that matches the effect you want. Opaque preserves fully solid rendering; Overlay reveals the Part color through transparent areas; TintMask uses the alpha mask to control tinting; and Transparency cuts out or blends the surface based on the texture’s alpha values.
What is MaterialVariant Alpha Mode?
A MaterialVariant is a reusable variation of a Roblox material. It can define a surface’s color, normal, roughness, metalness and other appearance properties. A variant can be assigned through a Part’s MaterialVariant property or used as a material override through MaterialService. Alpha Mode adds a choice for how the alpha channel in the variant’s ColorMap affects the rendered surface.
Roblox announced the Studio beta on February 18, 2026. The feature is enabled from File > Beta Features > MaterialVariant Alpha Mode. It brings alpha-channel behavior similar to the modes creators may already know from SurfaceAppearance, while adding Opaque as a compatibility-focused option for MaterialVariants.
How to enable MaterialVariant Alpha Mode in Roblox Studio
- Open your experience in Roblox Studio.
- Choose File, then Beta Features.
- Enable MaterialVariant Alpha Mode. Restart Studio if the beta prompt or your Studio version requires it.
- In Explorer, create or select a MaterialVariant under MaterialService.
- Assign a ColorMap image that includes an alpha channel if you want transparent or masked areas.
- Select the MaterialVariant and choose the desired AlphaMode in Properties.
- Assign the MaterialVariant to a test Part and inspect it under more than one lighting condition.
Use a PNG or another supported texture format that preserves alpha. In a grayscale alpha map, black represents transparent pixels and white represents opaque pixels; gray values can represent partial alpha. Keep a copy of your original texture so you can compare results when switching modes.
What each AlphaMode setting does
Opaque: ignore the texture’s alpha channel
Opaque treats the ColorMap as fully opaque, regardless of the alpha values stored in the image. This is useful when a texture contains an alpha channel for another workflow but you do not want that channel to create holes or transparency on the material. Roblox says Opaque is the default and preserves backward-compatible behavior for MaterialVariants. The beta announcement says it adds no extra performance cost when selected.


Overlay: show the Part’s base color through transparent areas
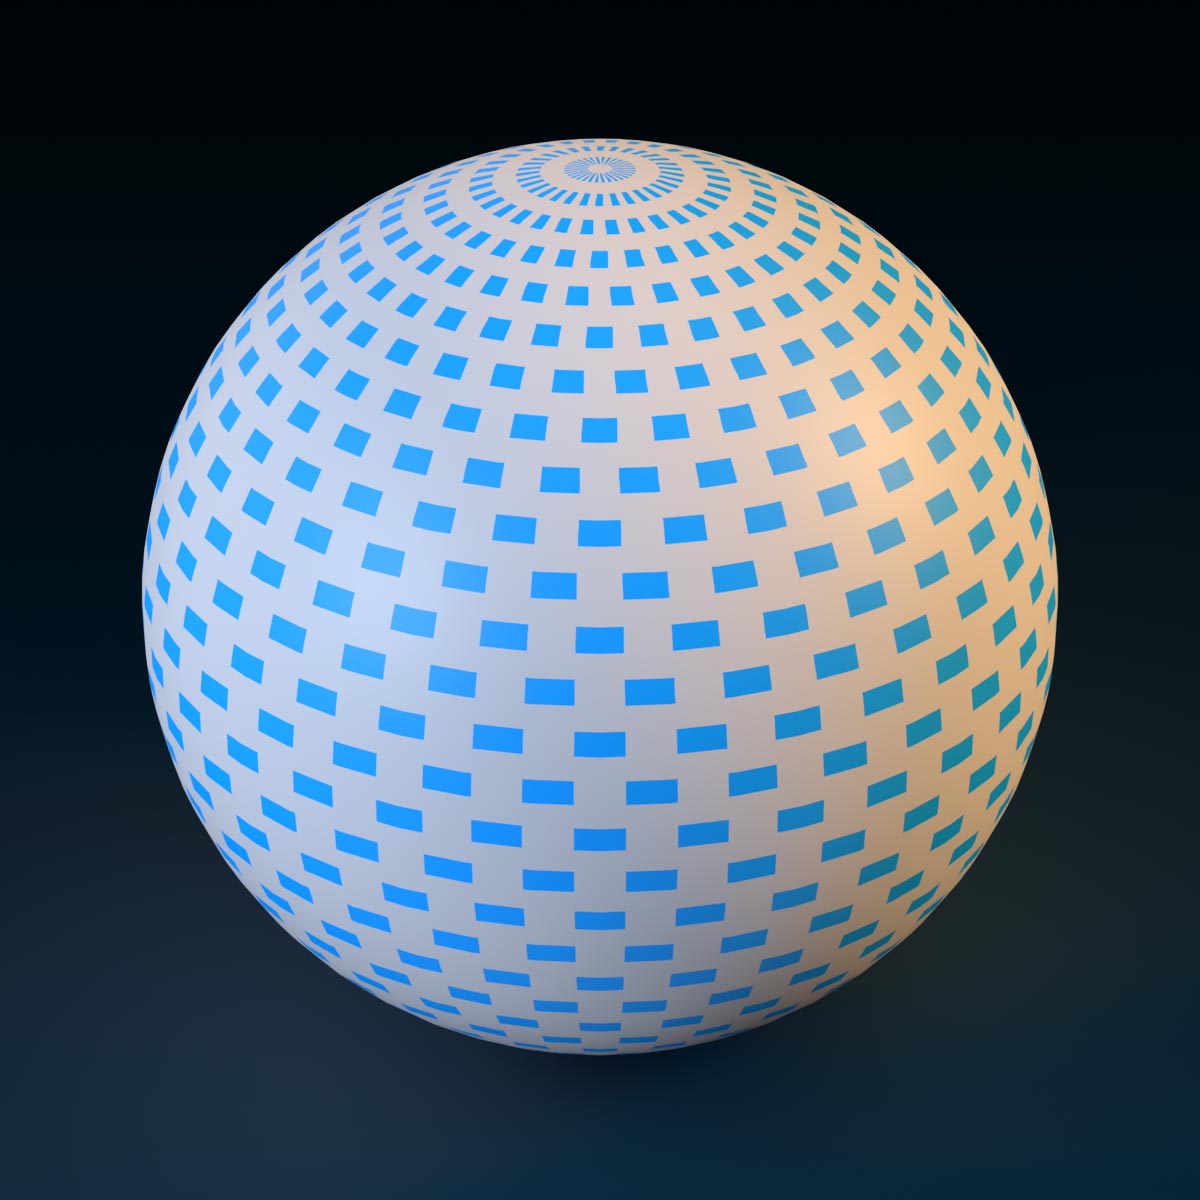
Overlay places the ColorMap over the underlying Part color. Wherever the texture is transparent, the base color of the Part can show through. This can help creators reuse one texture across objects with different colors, create patterned surfaces that retain a custom base color, or build character and prop variations without authoring a completely separate color texture for every variation.
TintMask: use the alpha mask to control tinting
TintMask applies tint selectively according to the alpha information in the ColorMap. The beta announcement describes it as tinting the opaque regions of the texture with the Part color. Roblox’s broader alpha-mode documentation explains the same mask-driven idea for SurfaceAppearance: fully visible alpha receives the strongest tint, while transparent regions receive little or none. This is useful for reusable materials where creators want to change selected color regions without repainting the full texture.
Transparency: remove or blend areas using alpha
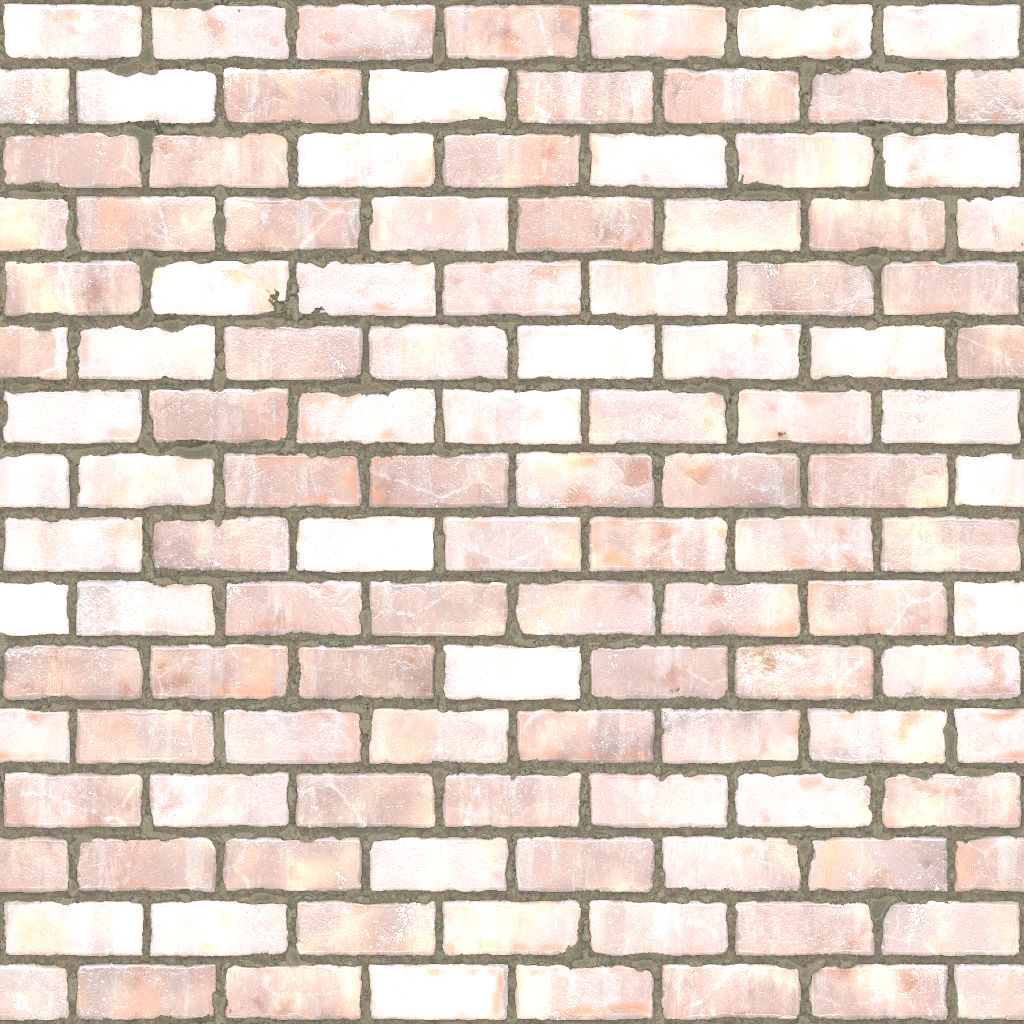
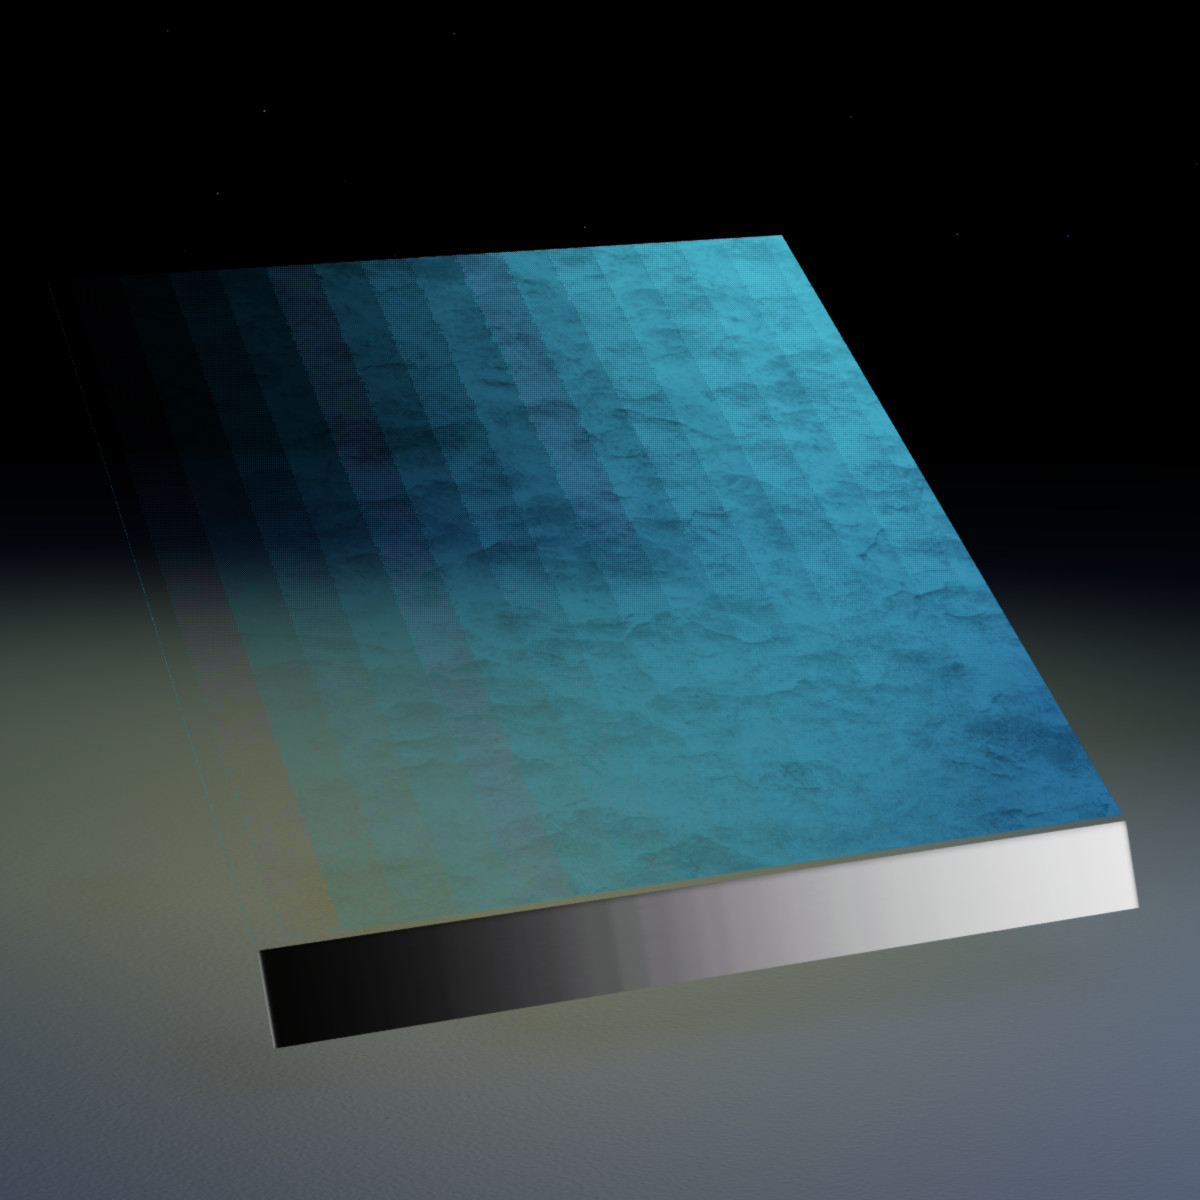
Transparency uses the ColorMap’s alpha channel to make parts of the surface invisible. It can create foliage cutouts, lace, netting, perforated surfaces and soft-edged details without adding equivalent geometric holes to the mesh. The original beta announcement notes that Transparency is the mode that deserves the most performance care, especially when many Parts use different MaterialVariant AlphaMode values.
Roblox’s PBR guidance also describes an important MeshPart distinction: for mostly opaque cutouts with hard edges, a MeshPart.Transparency value of 0 is generally better for depth-based occlusion. For soft gradients or semi-transparent details, a value of at least 0.02 can use a different blending path, but some effects and occlusion may not behave perfectly. Test the exact combination in your scene rather than assuming every transparent texture will render identically.
Performance, memory and known issues
- Opaque: Roblox says the default Opaque setting adds no extra performance cost.
- Other modes: The expected performance penalty is low overall, with Transparency requiring the most care.
- Memory: Roblox’s beta announcement says the feature adds no additional memory cost for the different MaterialVariant AlphaMode settings.
- Many unique settings: Be especially careful when a scene contains many Parts with different MaterialVariant AlphaMode values.
- Studio display issue: Roblox listed a known issue where switching AlphaMode to Opaque may not immediately display correctly. Saving the place and restarting Studio was the suggested workaround.
These are Roblox’s published beta notes, not a guarantee that every project or device will have identical frame-time results. Profile dense scenes on the target hardware, particularly if you use many transparent surfaces.
Which AlphaMode should creators choose?
| Goal | Suggested mode | Why |
|---|---|---|
| Keep the texture fully solid | Opaque | Ignores the alpha channel. |
| Reveal the Part’s color through texture gaps | Overlay | Transparent areas expose the underlying Part color. |
| Tint only selected texture regions | TintMask | The alpha mask controls where tint is applied. |
| Create cutouts, holes or transparent detail | Transparency | Alpha values determine which surface areas are visible. |
A practical workflow is to start with Opaque as a baseline, duplicate the MaterialVariant, and compare the other modes on the same test Part. Use a simple texture with obvious transparent and opaque regions first. Then move to production textures and check the result in different lighting, at different camera angles, and on your target devices.
What this beta means for Roblox creators
The main benefit is material flexibility. A single ColorMap can support more than one visual treatment, reducing the need to make separate texture files for every variation. Overlay can help with color variants, TintMask can support selective recoloring, and Transparency can produce fine cutout details. Opaque gives creators a predictable solid option when the alpha channel should be ignored.
There are limits. Alpha Mode does not replace good texture authoring, careful mesh design, or performance testing. Transparency can introduce rendering trade-offs, and the feature remains listed as a Studio Beta in Roblox’s documentation. Before relying on it in a production release, test your actual MaterialVariants in the current Studio build and review the latest Creator Hub notes.
Frequently asked questions
Is MaterialVariant Alpha Mode available in Roblox Studio?
Roblox announced it as a Studio Beta. Enable MaterialVariant Alpha Mode from File > Beta Features. Availability and behavior can change as the beta evolves.
What are the four MaterialVariant AlphaMode options?
The options are Opaque, Overlay, TintMask and Transparency. They control whether the ColorMap alpha channel is ignored, reveals the Part color, controls tinting, or creates transparent areas.
Does Opaque mode make a MaterialVariant transparent?
No. Opaque ignores the ColorMap alpha channel and treats the texture as fully opaque. It is the compatibility-oriented default described in Roblox’s beta announcement.
Which mode is best for leaves, grass or netting?
Transparency is the natural starting point for cutout foliage, lace and netting. Test depth, shadows, reflections and performance in your own scene because transparent rendering can have trade-offs.
Does MaterialVariant Alpha Mode use more memory?
Roblox’s February 2026 beta announcement says the feature adds no additional memory cost. It also says Opaque has no extra performance cost, while Transparency deserves more care.
Why does Opaque sometimes look unchanged after switching?
Roblox listed a Studio issue in which changing AlphaMode to Opaque may not display properly. Save the place and restart Studio, then check the result again.
Official sources and further reading
- Roblox Developer Forum: Introducing Alpha Mode to MaterialVariant (February 18, 2026)
- Roblox Creator Hub: PBR textures and Alpha modes
- Roblox Creator Hub: MaterialVariant reference
- Roblox Creator Hub: AlphaMode enum
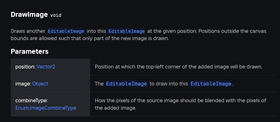
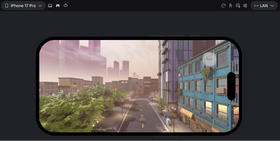
For more Roblox Studio coverage, read our guides to the Device Simulator and Network Simulator release and in-game EditableImage publishing.
Reporting note: This article is based on Roblox’s February 18, 2026 beta announcement and the Creator Hub documentation available at the time of publication. Beta status and implementation details may change.
By Shivam Das